
Well, this is something I don't do very often. Mainly because of the time it takes which really cuts down on your profit. I restored an antique drop leaf table for a friend/client.
I restored it as close as possible to its original finish. It took me approximately 25 hours simply to strip and repair it before I even started staining it. Here is the finished product.


After she told me how important the table was to her I was really nervous. :-) She had memories of her grandmother, her parents, and sisters eating at this table. They were all deceased. So I really wanted to do a good job for her.
Here is how it looked before I started or rather as I started stripping the top.

My client's sister had the table before her and had tried to paint it with a gloss black. It was streaky and rather pitiful looking. It also had some deep gouges in the top and a couple of the medallions on the base were coming apart.
So I started stripping and sanding and stripping and sanding.
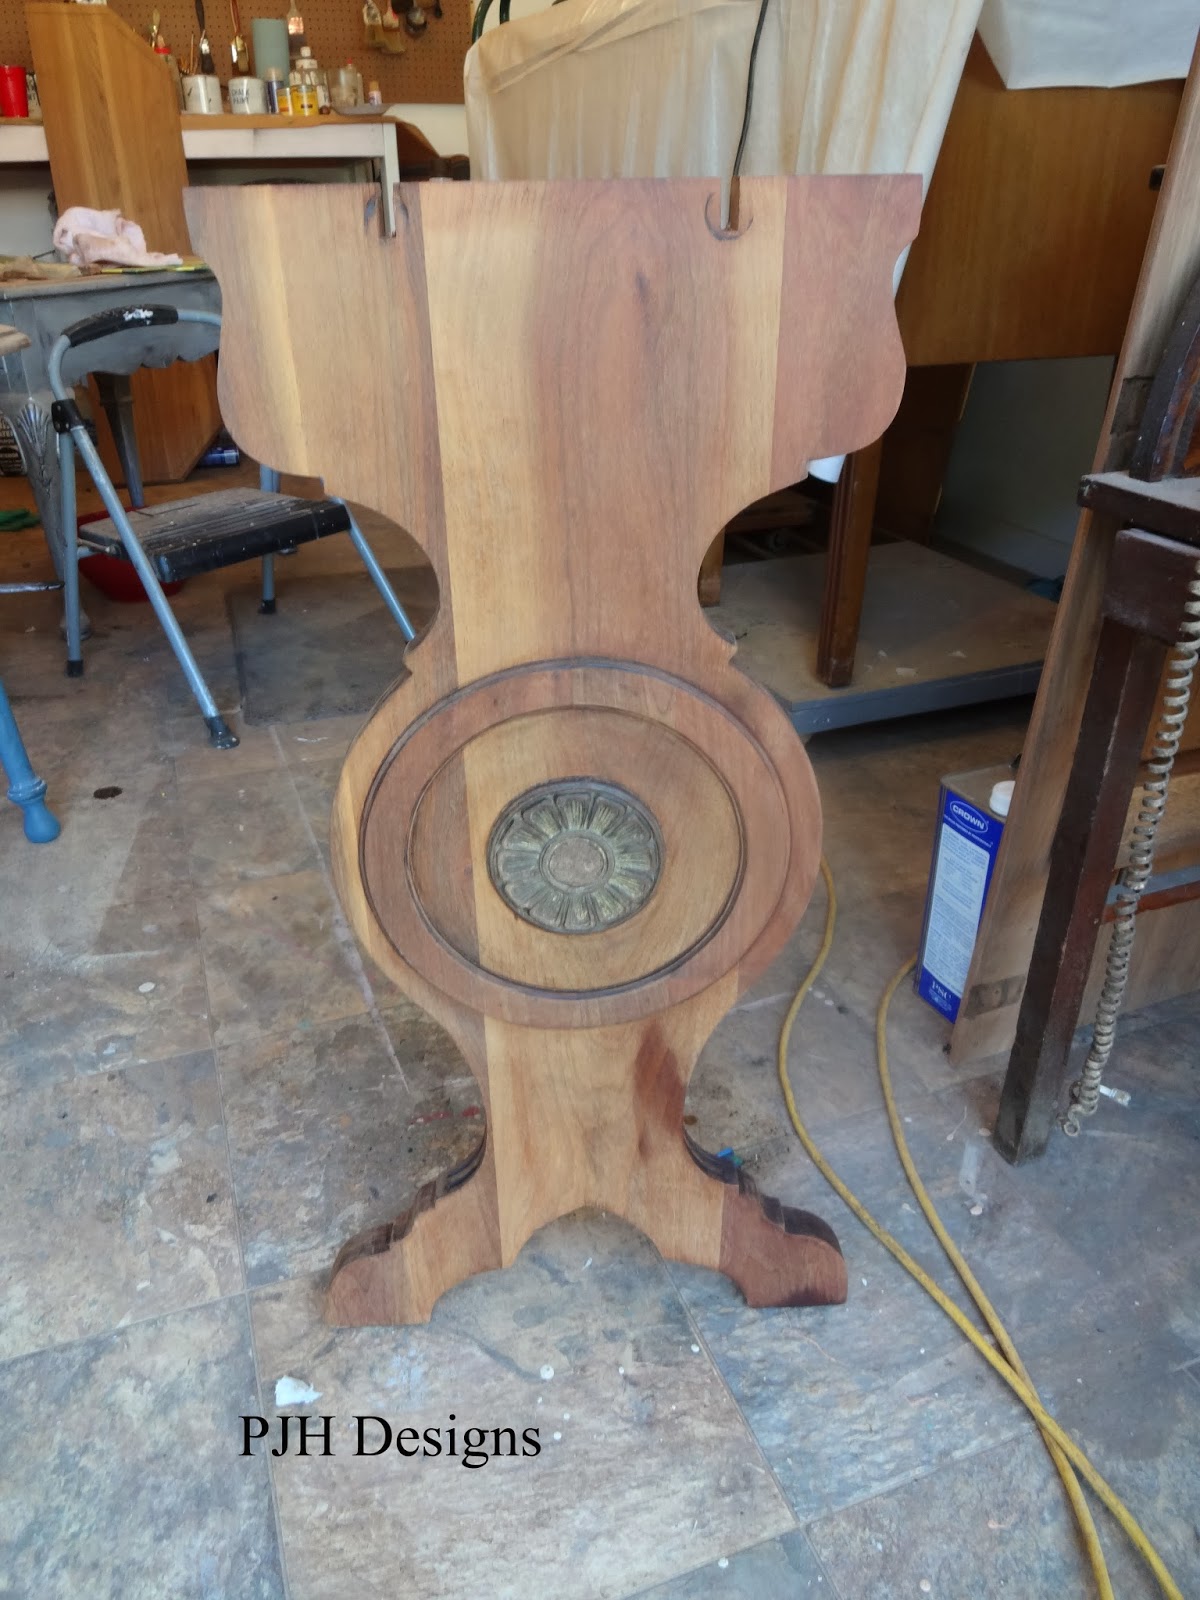
That is... after I had it in several pieces. (As you can tell I'm so busy I can't even keep my shop clean.)

You really can't do a decent job unless you take the piece apart when possible. I used a chemical stripper on the medallions, crevasses, and corners but sanded everything else.

Can you see the furniture on my carport in the background? My husband despairs of ever getting it cleaned off. He said that he thought when he built the shop it would take care of the furniture on the carport. lol I told him he should have known better. :-)
Anyway I started sanding with 60 grit then 120 and on up to 220 grit.

This was not a veneer but solid wood so I was able to sand out the gouges. Once everything was sanded to my satisfaction I applied a Golden Oak stain with a soft rag. I chose that color as it was light enough to let the colors of the beautiful wood come through.


As I stripped the piece I found that the medallions and accents on the legs had been gold at one time. So I painted them with my gold gilding wax and the edge around the top and around the medallions I painted with black latex.
The base and legs got three coats of satin poly and the top I sealed with two coats of clear wax. I then buffed the top with a fine steel wool. Finally, once the gilding wax was dry, I buffed it with a soft cloth.

She loved the results and I was so relieved! lol
I hope you like this piece. I know it was very different from what I usually do. I will be sharing another vintage jewelry armoire with you soon. This one done in shades of purple.
Have a great week everyone,
Hugs,

Please join me as I share my post at the following lovely parties:
Sunday
Monday
Tuesday
Wednesday
Friday


4 comments:
It's beautiful, Peggy. You really brought out the beauty in the wood.
Great job Peggy! The wood grain is just beautiful. How lovely that it can be seen again! x
Amazing job, Peggy! That definitely took a lot of work - but I'll bet your client was over the moon thrilled with the transformation! Great job!!!! :)
xoxo laurie
Beautiful work to restore the table to its original glory.
Post a Comment