Tuesday, February 28, 2012

Free Graphic Wednesday #19

Hello blogger friends.  I’m very busy right now but couldn’t pass up sharing my graphics this week.

Please read the Disclosure Page. To save an image just right click and choose “save as”.

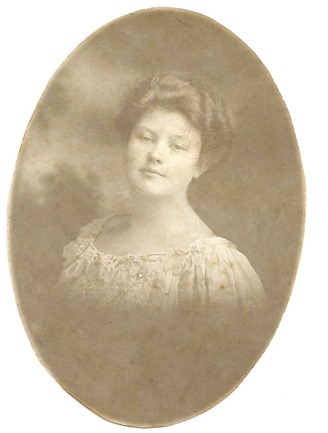
lady

A lovely lady

lady1

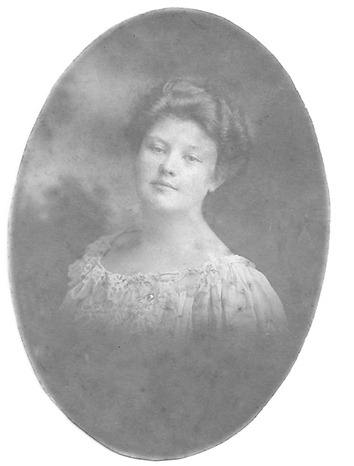
lady2

And finally with a canvas finish.  I just think she is really pretty don’t you?


flowers

Lovely Bouquet

flowers2


flowers3


sundaycouple


Here’s a couple out for a Sunday Stroll.


sundaycouple1


apple

This is obviously an apple lol.


floralcross

For Easter a cross with dogwood blooms.


amenones


amenones2

Anemones & Dragonflies


Thanks for stopping by and I hope you can use these images in art work or scrapbooking.

signature

Monday, February 27, 2012

Kitchen Renovation: How to Remove A Popcorn Ceiling

Hello friends one weary blogger here to share how to remove a popcorn ceiling.  I just removed mine from the kitchen this weekend with my sweet daughters help.

First, you need to be sure that your popcorn ceiling has no asbestos in it and if it does I would turn this project over to the professionals.  Its just not worth the risk to do it yourself.

Supplies

water bottle
scraper
mask
goggles
lots of drop cloths
and if you really want to stay clean-- a space suit

Cover all furniture and cabinets with plastic drop cloths, sheets, or whatever you want to protect everything.  Also, if you are smarter than me you will move everything out and cover your floors also, and then your clean up will be much easier. Sigh.


If you are planning to just paint your ceiling I would not recommend using the water bottle because if you use to much or you scrape to hard you are going to damage your sheet rock and cause more work in the long run.


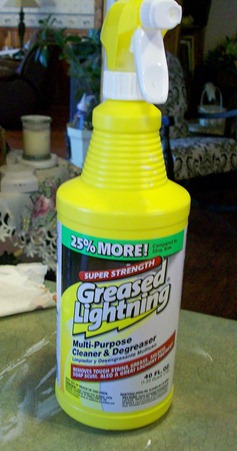
If you are going to cover your ceiling the first step is to spray your ceiling in one to two foot areas with plain water.  (I put water in an old Greased Lightening bottle).  This softens the popcorn material (what is that stuff anyway?), cuts back on the powder residue from spreading over your entire home, and makes it easier to remove.


After you let it set for awhile start scraping it off.  It comes off very easily.  Continue those two steps until you have removed all of the finish. By the way we removed all the vents and light fixtures after I took this picture. 


When you get through you will look like this:


Hah! If I had on a darker T-shirt you would really be able to see how dirty I was. lol

Now if you were my daughter you looked like this:


Look at her! The hair is still in place, she hardly had any powder in her hair, and her make-up was still on! And she did just as much as I did and in this picture was going back around and touching up a few spots. Thanks sweetie I love you.

By the way I recommend a scraper like I used it really worked a lot better than a plain one.  It is made by W.M. Zinsserman, Co. Inc. I don’t know where my husband picked it up at but there are probably other similar ones out there.


Here is what your floors will look like with about one and one-half inches of popcorn ceiling on them.


It took us about one hour to remove the popcorn from a 10’ by 26’ ceiling and another hour and one-half to clean up.

The best way to clean up if you don’t cover your floors is to sweep up the majority, then vacuum, and finally mop a couple of times.  If you mop before you vacuum you will be mopping forever.

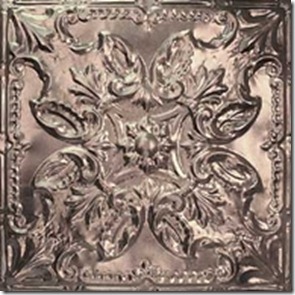
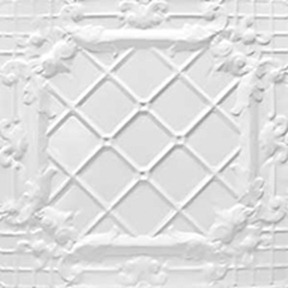
Now I just decided today (please don’t tell my daughter) to use real tin ceiling tiles because I found a wonderful dealer online and realized I could afford them.  You see that’s what I wanted to begin with but I was going to put up the fake glue up kind and needed the ceiling removed.  Oh well sorry Misty. Embarrassed smile

Here’s a sneak peek.

280208408035388101_KCByo8Fg_b

This is my pattern


280208408035388094_vBOOHXNg_b


and this is the color “Bright White Satin”.  I ordered them from American Tin Ceilings click here to go to their website.

We’ll that’s it and it really wasn’t all that hard just tedious and messy.  Hope this helps you in a future project and be sure and come back to see what’s happening next in my kitchen.


Friday, February 24, 2012

Kitchen Renovation: Walls and Cabinets

Hello, blogland friends.  I’m just stopping in to give you an update on how the kitchen remodel is going.

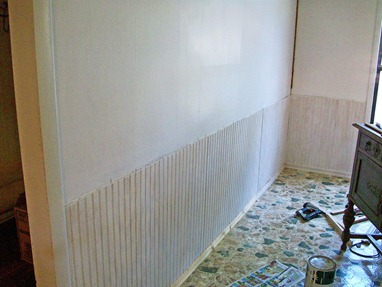
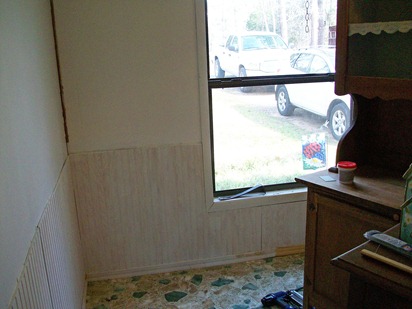
It’s a big, big mess and driving me nuts but getting done slowly and surely. The upper walls are painted with two coats of white eggshell/satin paint that I already had and the bead board is up and has a thin coat of primer.

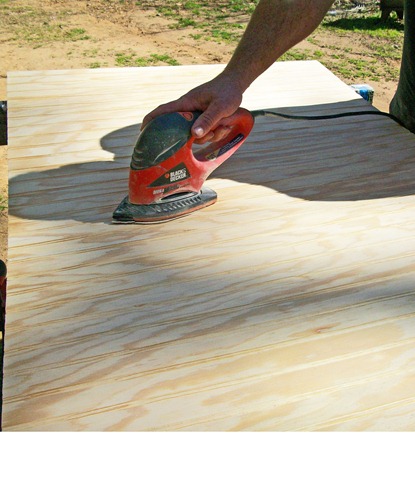
beadboard
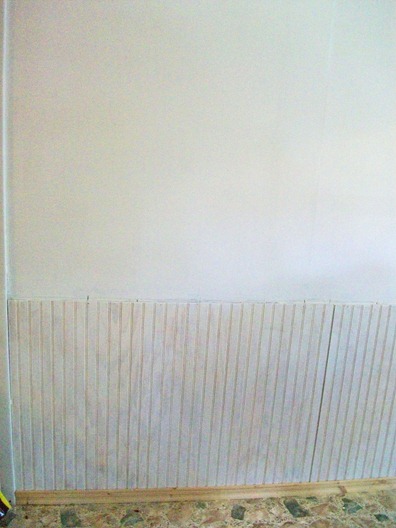
First we lightly sanded the bead board as it is rough in spots.


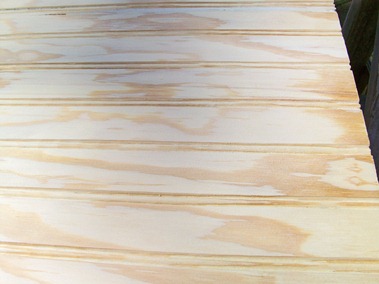
beadboard1


Once it was nice and smooth my helper put it up for me.  You can buy this at Lowe’s or Home Depot already cut to the 32” that you need or you may buy the full sheets and they will cut them for you which is a little cheaper.


walls


You apply the base trim first and the bead board slides into the notch at back of trim. The top trim is made to slide in and be flush to the wall as a regular trim would stick out further and not look right.  To save money buy the pro packs of trim as they are almost half the price as buying the trim by individual piece.  I think a single eight foot piece of trim was like $1.15 a foot and the pro pack was sixty feet for $35.00


walls1


At the time I took these pictures we did not have the any of the other trim up yet.


walls2

As I said before I painted the upper walls with two coats of an eggshell paint that I already had bought at Wal Mart. The bead board and trim will be painted with Annie Sloan "Paris Gray".

You might ask, “But Peggy I thought you were painting with Annie Sloan Chalk Paint why are you priming?”  My answer would be for two reasons. First, it’s a kitchen. I want it to be very durable and ASCP is not cheap and having a base coat will cut down on how much chalk paint I have to use.  Plus…well my paint isn’t in yet and I’m chomping at the bit to get started! Smile


greased

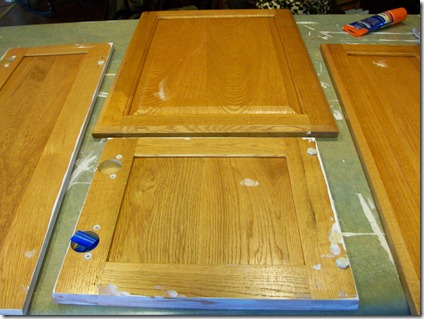
My kitchen cabinets are the stock oak from Lowe's about ten years ago.  We have the doors all off and I am cleaning them with Greased Lightning which is great for removing grease and yucky stuff.


doors


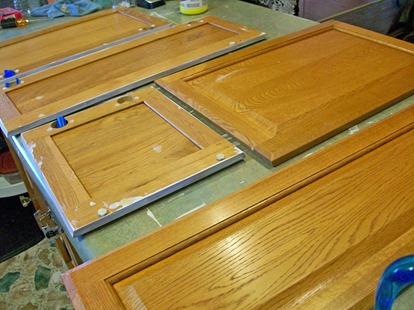
We numbered them as we removed them (that is what the blue tape is in the hole) and after cleaning them I filled in all of the holes as I was not going to use the same knobs and handles.  I then gave them a light sanding.


doors1


doors2


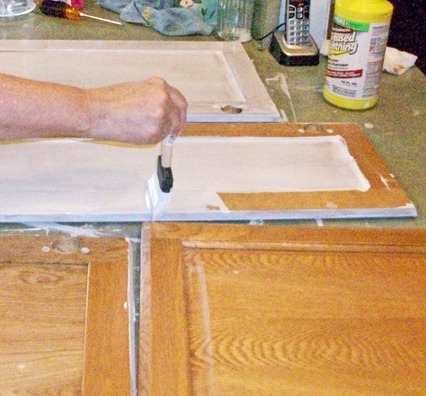
I then applied some Kiltz primer to all of them and I recommend a foam brush as they apply the primer smoothly and you can just throw them away so no clean up.  Be sure to catch any drips but since I’m using ASCP I’m not worried about everything being super smooth or thickly covered.

Another thing I love about Annie Sloan is that it sticks to just about anything and you can just slop it on and it still looks great.

Okay, my next update will probably be sharing how we are making the butcher block style counter tops for one-tenth of the cost of the special ordered ones.

If you have any questions or suggestions I would be glad to hear from you I love to get comments.  Until next time ya’ll have a great weekend and thanks for stopping by.
signature
P. S. If you thought I was going to share my cabinets with all the doors off let’s just say I’m not willing to share ALL my dirty little secrets just some of them. Princess


Sharing with these lovely parties:


Saturday
Saturday Night Special
Saturday Splendor
Get Schooled Saturday
Saturday Spotlight

Sunday
Sunday Blog Love

Wednesday, February 22, 2012

My Kitchen Before Renovation


Okay, let me just say that this is my kitchen not a model home,  we live here, and I did not stage anything. 

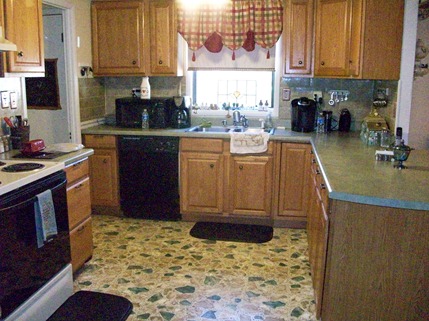
Now that I’ve said that be prepared to be afraid very afraid. This is an early 1990’s kitchen and it is green, yes GREEN.


I plan on achieving a $35,000 looking kitchen remodel, but only spending $3500 to $4000.


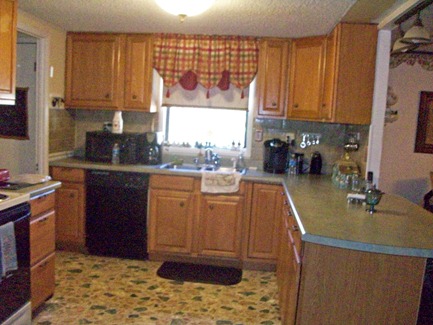
kitchen1


This is looking toward the back of the house from the eat in area of my kitchen.  As you can see to the right when we did this remodel we partially blew out that wall to open it up to the dining room and den and to add the bar.


kitchen2


I know you’re looking at that green rock floor. lol Hey it worked at the time and I remember thinking that it wouldn’t show dirt and it doesn't you can't find anything if you drop it on that floor! The cabinets will be painted and I am adding details to them to make then look more like furniture.

The counter tops are going to be wood butcher block. Now I wanted butcher block counter tops but when I priced them at Lowe's the cost was $4300!  That would totally blow my budget so I will be sharing how you can make your own butcher block counter tops for about $150! 


Yes, we have his and her coffee pots.  I have to have my Starbucks.


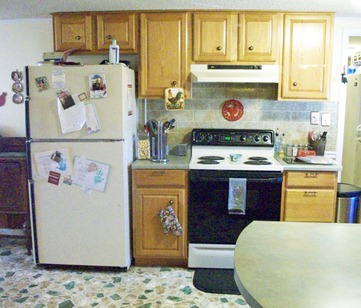
kitchen3

This is looking into the kitchen from dining room. No, my children are grown those are gifts and pics from my grandchildren who get off the bus here everyday.  By they way that frig is going, thank goodness, its from the dark ages and freezes all my produce.  I’ll be painting my stove and putting in an above the stove microwave.

Oh, how do you like my faux stone black splash? lol  That was quite a project, one of my wild ideas, but hey it looked pretty good.  I’ll be applying the real deal this time.


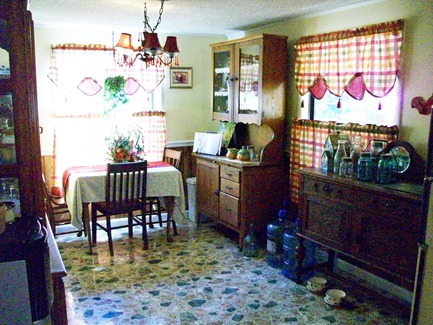
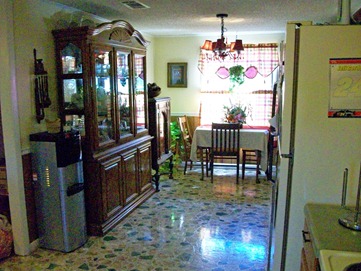
kitchen4

In this picture we are looking toward the eat in area of the kitchen.  Notice my vintage chandelier with half the lights out they pretty much stay that way as there is a short somewhere.  To say the least its going.

The popcorn ceiling is also going I’m putting in a wide bead board and painting it.


kitchen5


The dining hutch I will eventually paint and I’m moving it to the dining room.  The vintage dining table spreads out to seat four to six comfortably, and if I decide to keep it I will paint it also.


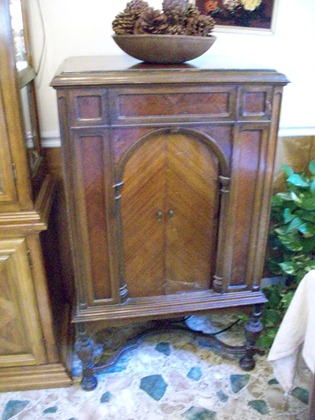
vintagepiece


This piece is going to the shop I believe it was once a Victrola but now it is just a cabinet and the top opens up with a velvet lined area.  By the way the floors will be replaced. Aren’t you glad? lol. I’ll explain more about the floors later.


vintagesideboard


This reproduction sideboard I picked up at a local thrift shop. I plan to paint it and keep it.

Well that’s my before kitchen. I’m so ready for it to go and I have already started the process.  I hope you’ll join me as I have several cost savings projects to share with you and besides remodeling is just so much fun as long as you are not the one in the middle of it! ‘Til next time all the best.



Tuesday, February 21, 2012

Free Graphics Wednesday #18

Gosh, today was a busy day as we started on my kitchen renovation.  I’ll be sharing before pictures maybe Thursday and as we are doing the different projects I’ll be sharing how we did it.  So here are the graphics for this week and if you're new check out the Disclosure Page.

boygirl

Aren't they a cute couple headed maybe to Grandma’s with flowers.

jockeyhorseshoe

How about a jockey with his dog and a horse shoe?


butterflyorange


butterflypink


butterflygreen
Butterflies

girlwithflowers
An adorable French girl


wisteriabirds
Wisteria and bluebirds


birdbirthdaycard

birdbirthdaycard1

Flying bluebirds birthday card


Enjoy and have a great week.


I'm sharing at these great parties:


Tuesday
One Project at A Time


Wednesday
Wow Us Wednesday
The Stuff of Success
Be Inspired @ Elizabeth & Co.

Friday, February 17, 2012

I’m Dreaming…Of A Kitchen Redo!!

Hello my bloggerette friends.  How are ya’ll? Hope you are doing great.

I’m so excited to tell you that in the next few weeks I will be remodeling my kitchen with the help of my two volunteers (that is my son-in-law and husband) who are both quite handy. Although, they are not carpenters they have both done their share of carpentry projects and I have faith they can achieve the goals I have set. (If not they will never hear the end of it, I promise). Lol, just kidding, maybe.


kitchen5


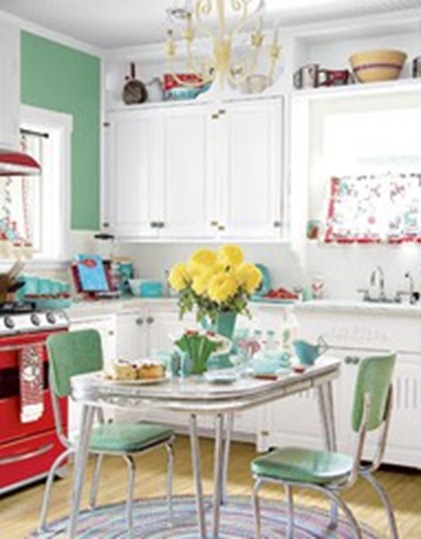
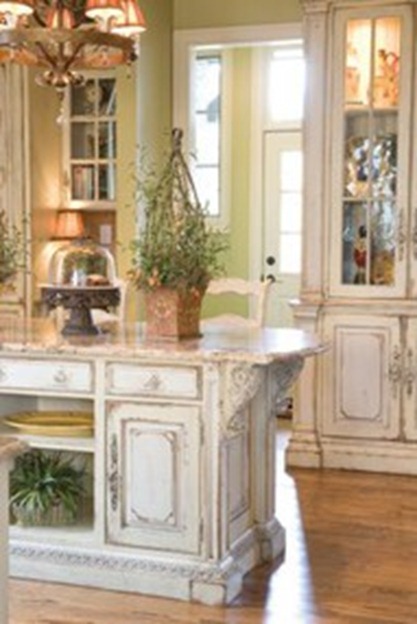
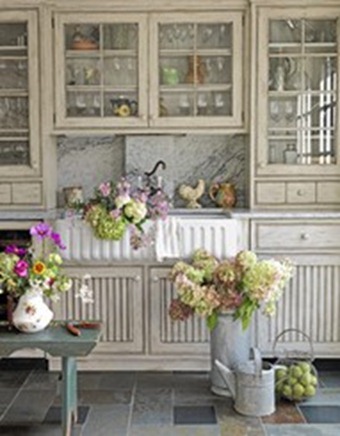
Thanks to Pinterest I can share some of my ideas with you.  I have a dream of mixing a little vintage with a little French country. 


kitchen3

 habershamhome.com


I’m totally loving both of the above kitchens.  The main thing I like in the first one is the apron sink, which you will see in most  of these pictures, in the bottom one it is the finish and wood details that I love and I will incorporate both in my little kitchen.

I will share the before of my kitchen in a couple of days you will see it is stuck somewhere in the early 1990”s or is that green from the late 1980’s? In love

kitchen6


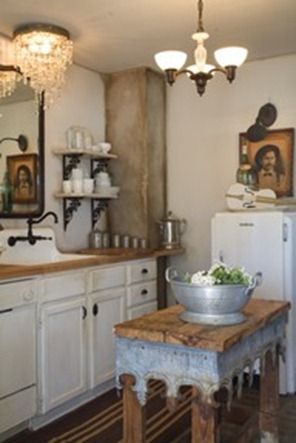
In this picture I’m just drooling over the island with the skirt of metal work and if and when I can find some similar zinc I plan on making one. I also like the faucet and lighting. Are you starting to see where I'm going with my plan?


kitchencountertopsdark


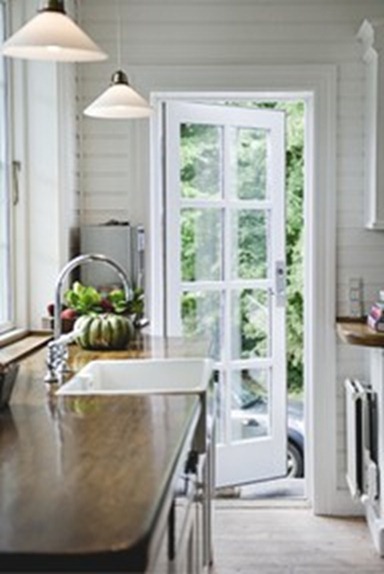
The next thing I really want are dark wood countertops! I just love them but the ones I really want are very expensive because, I of course, have champagne taste on a cheap wine budget! I will be sharing with you how we get very close to the same look at a fraction of the cost.

kitchen2


Don’t you just love this kitchen? The chandeliers, the apron sink, the pretty green metal stools, and the beautiful vent over the stove, oh my! sigh.

kitchen9


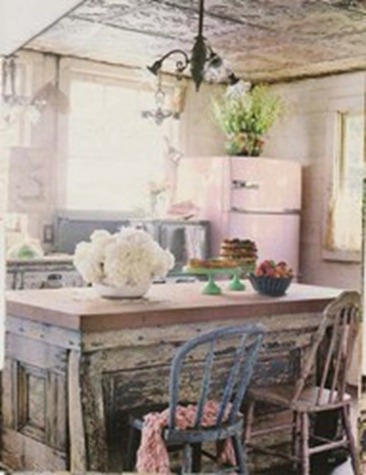
I also like this vintage, rustic kitchen. I’m loving the bar with its chippy finish. Also, those ceiling tiles! Wouldn't I love to find enough of those to cover my ceiling? Yes!


Here is another one with the apron sink and I love the hardware and the shelf above the windows.


kithen4
 ulma.tumblr.com


In this picture I love everything but I’m sharing it mainly for the glass cabinet doors.  I’m hoping I can incorporate some into my kitchen. 

Well those are my inspiration pictures.  I’m hoping to get a kitchen with a mix of the design elements I shared above on a budget of $3,000.  This will include flooring, countertops, a new refrigerator, and a new apron sink.  I don’t want much do I? lol
I hope you will join me in the headaches and the fun because I really will want your advice and input as I go along.

Thanks for stopping by and hope you have a great weekend. Princess

Tuesday, February 14, 2012

Free Graphic Wednesday #17

I hope each and every one of you had a wonderful Valentines Day! I and my hubby of thirty-three years spent a quiet night at home, exchanged small gifts, and ate chocolate covered strawberries as we watched Storage Wars. lol

Anyhoo, on to the free images please read the Disclosure Page for rules of using these images.  Thanks.

victorianladiescarriage
Lovely Victorian ladies in their flower encrusted carriage.

Irelandheader
Ireland header

Irelandheader2

Irelandheader3


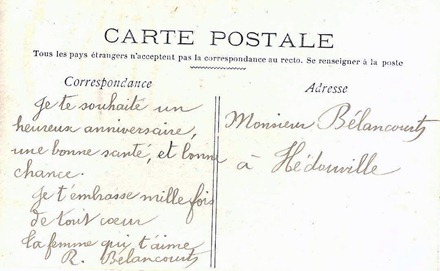
frenchpostcard


A French post card

bonbasierslady
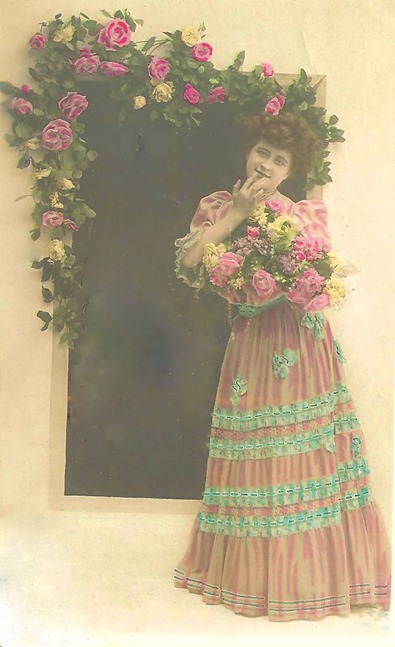
Victorian Flower lady


bonbasierslady2


1892censusmap
1892 Census Map


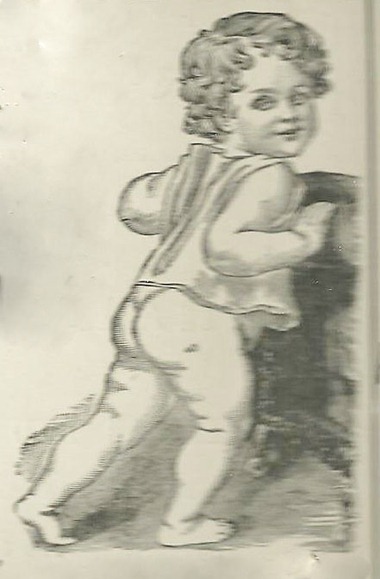
barebottombaby


And last but not least a cute little bare bottomed baby! 

Thanks for stopping by see you soon with a post about my dream kitchen and how I plan to achieve it on a very limited budget. 
signaturePrincess


I'm sharing with the following parties:


The Stuff of Success


Photobucket

Total Pageviews

LinkWithin

Related Posts Plugin for WordPress, Blogger...