Friday, October 28, 2011

Liebster Blog Award

Sharon from the blog From Rags to Rainbows awarded me with the Liebster Blog Award!

The Liebster Blog Award is given to up and coming bloggers who have less than 200 followers.  Liebster is a German word meaning clean, sweet, kind, nice, good, beloved, lovely, kind, pleasant, valued, cute, endearing, and welcome.

Thanks so much Sharon I am so honored that I was one of 3
your choices for this award. If you have not been by  to check out Sharon's blog get over there asap! She is ASHM that used to sell jewelry, and then made quilts, and now she is made up her mind to paint every piece of shiny furniture in her home. A girl after my own heart and wait to you see her work just gorgeous! You go girl!

To keep this award going and pass it along to other new deserving blogs, the recipient must now recognize five other bloggers with less than 200 followers that have stood out in the crowd.

The rules for the Liebster Award are: 

1. Thank the giver and link back to the blogger who gave it  to you.

2.  Reveal your top 5 picks and let them know by leaving a comment on their blog.

3.  Copy and paste the award on your blog.

4.  Have faith that your followers will spread the love too!

So, here are my 5  blogs, in no particular order:

Mad Tea Parties Dina is a lovely lady from Switzerland that now lives in Minnesota and loves finding and making treasures to share with her readers

Shabby Friends is an antique shop in Denison, TX they have beautiful antiques and share their recent additions and some lovely refurbished items.

Retired and Loving It Chis is a retired librarian that makes lovely jewelry and sells it at local craft shows.

The Accent Piece Suzie is a lovely lady and very talented young lady that enjoys sharing her design ideas, DIY,projects, and furniture redos.

The Salvage Collection Amy is a designer and SAHM who loves to paint furniture and share that and much more with her readers.

Congratulations ladies!

Be sure to visit their blogs and share the love!

Thursday, October 27, 2011

I Love This Chair

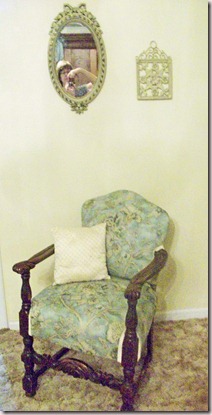
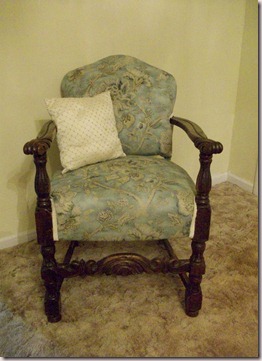
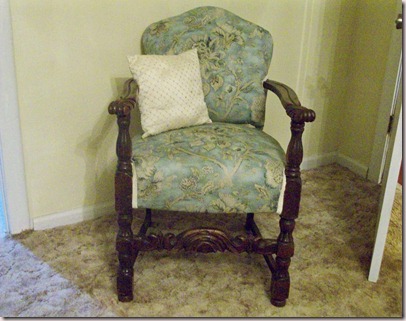
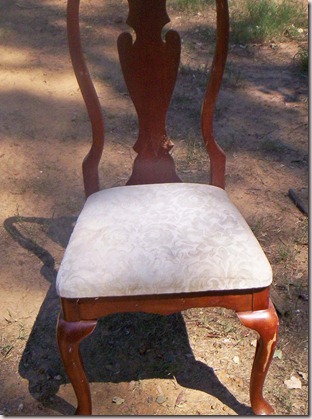
I thought I would take a minute to share one of my favorite pieces of furniture in my home. It’s a beautiful carved antique chair someone gave my husband years ago.  When he came in with it I could not believe someone would give it away even with the upholstery rotting off and everything it was still gorgeous.

antiquechair2

 (lol yes that's me in the mirror no makeup & hair a mess :0)


I recently recovered it in this pretty floral
fabric in keeping with the era of the chair with a blue that matched my bed linens. I think it came out okay considering I’m not an upholsterer. 

antiquechair3


After I was finished I decided I didn’t like
the trim I used around the arms and legs its a little too light don’t you think?
Can you believe I’m sharing something I did not paint? Lol I wouldn’t touch this beautiful carved wood for anything.

antiquechairarm3


antiquechairarm4


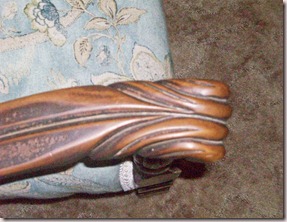
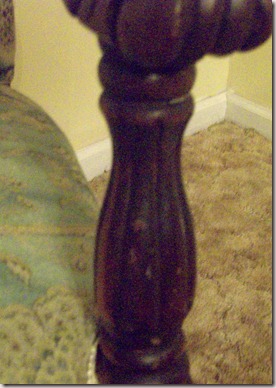
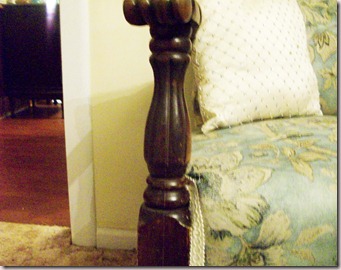
The patina is beautiful. Chippy and worn in some areas all the way to the wood where hands have rubbed many, many times over the years.

antiquechairarm5


I keep thinking about all the tales she could tell if only she could talk.

antiquechairbase


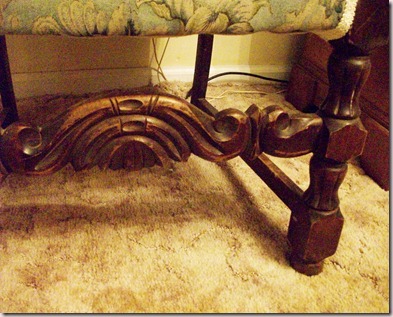
Many a foot has propped on this raised area. I (heart) the detailed carving! Sigh.

antiquechair1


Sorry if your heart is fluttering too she’s staying in my bedroom I won’t be selling this one but I'll probably be changing out that trim.

veraaillesmirror


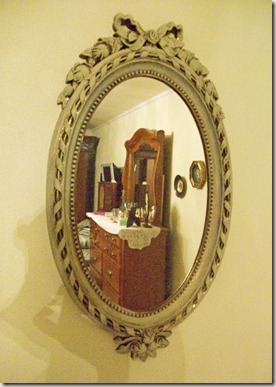
If you look in the first pick above the chair you see this mirror. I found this at a thrift store for $4.00.

veraillesmirror2


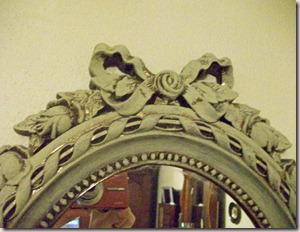
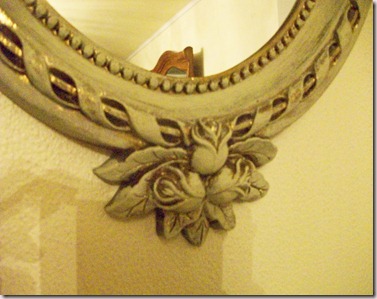
It was painted antiqued gold and was a little too gaudy for my taste but it had beautiful rose buds and I could see potential. I simply took some ASCP in “Versailles” and dry brushed it on leaving some of the gold to peek through.


versaillesmirror3


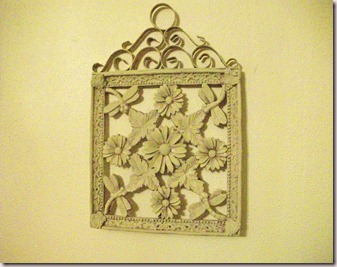
I really like how it turned out and its going to my booth at King’s Antiques tomorrow along with this little metal wall art piece I stained with a brown acrylic then I also dry brushed with Versailles. (Loving me some Versailles and hey I don’t even like green).

dragonflywallart


Please let me know what you think of my chair I love to hear from ya’ll and I read every comment.

Happy weekend.


I'm sharing with the following wonderful parties.


French Country Cottage
 

Tuesday, October 25, 2011

Finally the Dining Set Reveal

Yes, I’ve finally finished the dining set I’ve been working on FOREVER!
It’s not my fault it has taken so long don’t blame me but you can blame my toe I had operated on, and the doctor who said stay off of it, and the other projects I decided to do in between working on it, and... geez…here’s the before and after. Hope you like it.

frenchchairbefore
One of the chairs before.


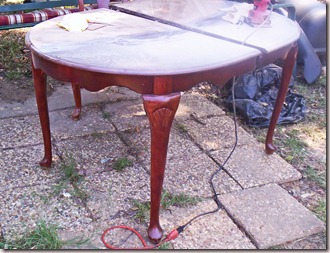
frenchtablebefore1


Sorry I had already started sanding the top and boy was it stubborn.  My husband was a sweetie and helped me by sanding about half the top. As you can see it was your basic used dining set with that thick poly on top that always scratches first thing. I just hate that don’t you?  Now here is my version.


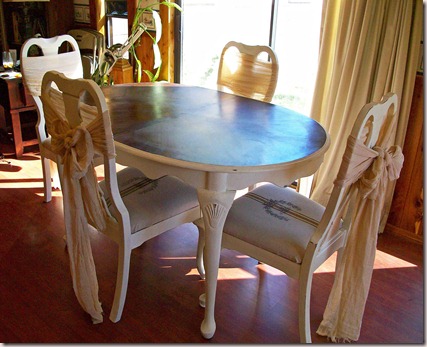
frenchtablechairs_edited-1


I just love my chair shrugs don’t you? They are tea dyed scrim fabric.  I stripped the top stained it with a dark walnut stain and applied three coats of wax to protect it.


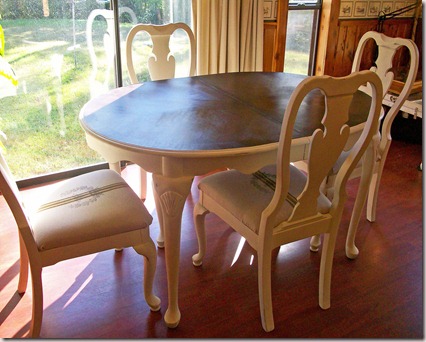
frenchtablechairs2_edited-1

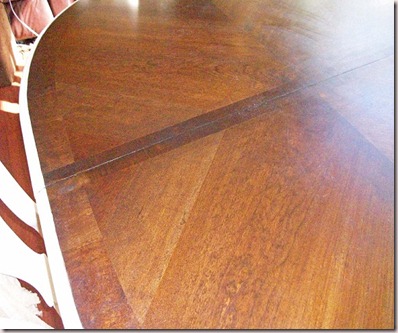
I love to expose a beautiful inlay and accent it.

frenchtabletop

By the way this inlay is done in such away that as you walk around the table the look of the inlay changes in each section its hard to describe you would need to see it yourself.  You can sort of tell in the first two pictures. Its just beautiful.

frenchtableleg_edited-1


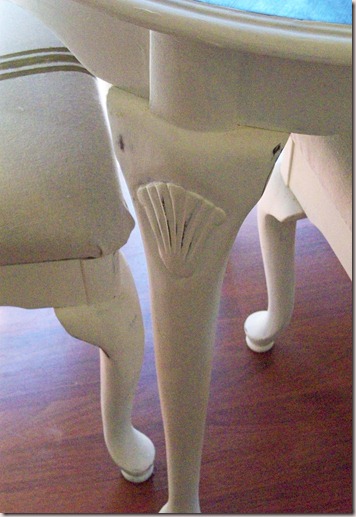
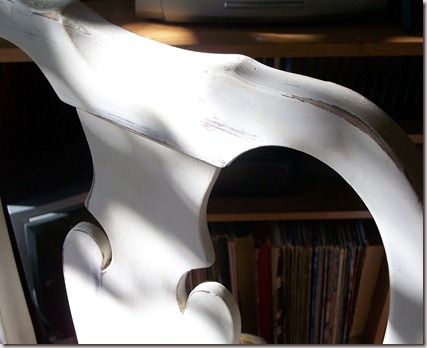
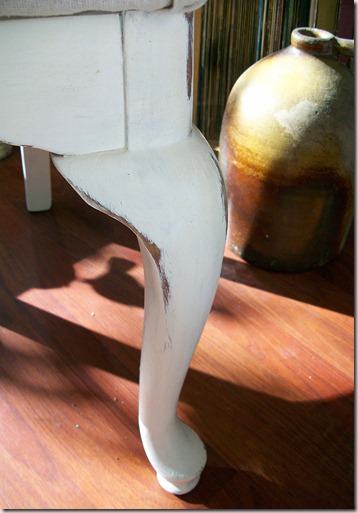
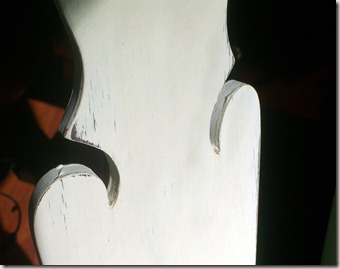
The base and legs as well as the chairs are painted in “Old White” ASCP, waxed with clear wax, distressed and a then a final coat of clear wax applied.


The chairs are my favorite part.  I won’t go in detail as I’m sure you have already read the tutorial on how I refinished them. If you have not seen the tutorial yet and would like to go here.

diningchabee3


diningchabee4


frenchchairclose


diningchabee1_edited-11


Thanks for stopping by ya’ll and keeping checking in as I'll have something new to show you real soon.


Happy painting Smile


I'm sharing with the following parties.


Domestically Speaking
Funky Faith Girl

Friday, October 21, 2011

Faux Grain Sack Tutorial & Hobby Lobby Gift Card Winner


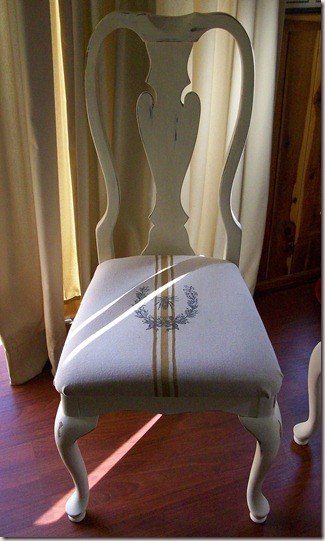
Today I’m posting the tutorial on how to do my faux grain sack chair as promised.

I used osnaburg fabric as I thought it looked the most like a grain sack’s material.


Supplies
Osnaburg fabric (1yard for 1 chair)
Ruler
Pencil
Acrylic Paint in color of choice for stripes
Fabric Medium
Small & medium brushes
Citrasolv
Carbon copy of image of your choice reversed
Spoon
Iron
Staple gun
1/2" staples
Fabric of choice for back of seat


Remove old fabric from chair seat then lay material over seat and cut being sure to cut 2 to 3 inches more all the way around cushion or if you were able to remove old fabric in one piece use it as template to cut new cover.

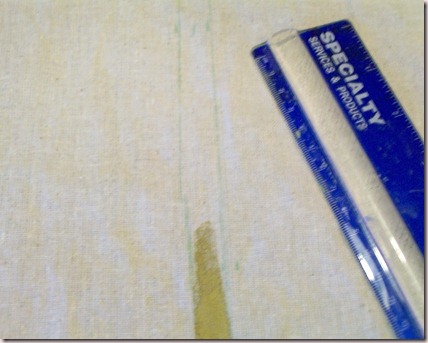
Now take your ruler and pencil and find the center of your fabric.  Measure and mark the center vertically the total length of your fabric. I made my center stripe 1/2” and my  two side stripes 1/4” you may have your stripes any size you want and as many as you want.


grainsack1

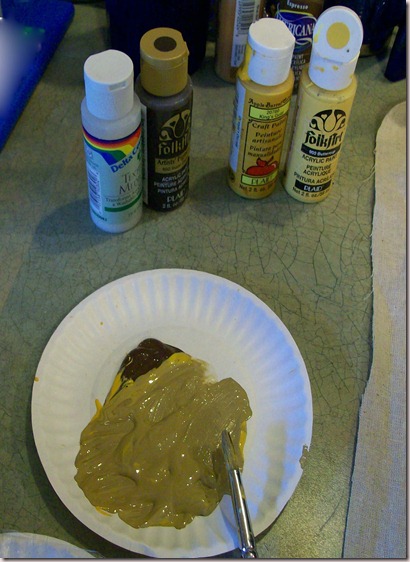
Next you need to mix your paint colors to achieve the hue you would like or if you have the correct color just proceed to paint your stripes being sure to mix in your fabric medium according to directions on the bottle. I didn’t have the color I wanted so I mixed a small amount of burnt umber, king’s gold, & buttercup to get a sort of caramel color. I used acrylic paints by FolkArt, Apple, & Duracraft.


grainsack2

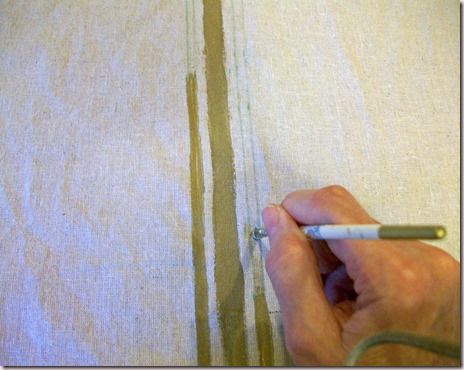
I wanted my seat cover to look hand done so I wasn’t’ worried about getting the color exactly the same each time I had to mix more.  I also was not concerned with getting my stripes exactly straight as you can see here.


grainsack3

When the paint was dry I proceeded to the next step, applying the image. I got my image from The Graphics Fairy and after adjusting the size I printed it out on my ink jet printer.  If you are printing an image with words you will need to reverse the image.  I then took it to my local library and made several copies on their carbon ink copy machine. This only works if you have a carbon copy.  After cutting away the extra paper around edges I centered it on my stripes and taped the top down (you may want to tape top & bottom).You will now need your Citrasolv.  You can find this cleaner at most health food stores.


grainsack4

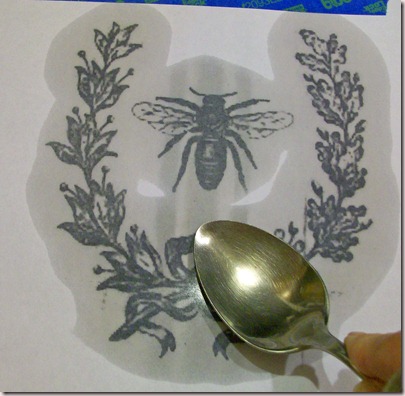
Citrasolv fumes are very strong so you want to work in a well ventilated area. Take a paint brush and apply the Citrasolv to the image. I just dipped the brush into the top of the bottle and it does not take much and you will see the image become transparent.


grainsack6

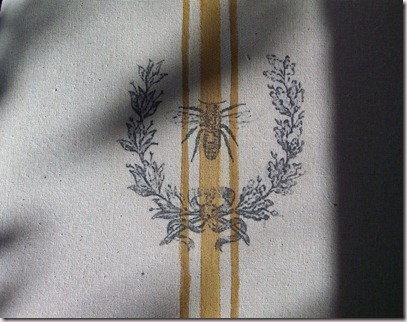
Once you have the image completely covered with the cleaner then take a spoon and burnish, burnish, burnish lifting the paper occasionally to see where you need to rub. Once you are sure everything is transferred completely remove the paper. Your fabric should look something like this:


diningchabee2_edited-2

Finally lay the fabric over a towel and iron until dry.  This releases the Citrasolv and sets the paint. Iron up and down the stripes thoroughly.


I’m sorry I didn’t think to take pictures of the next steps but you take your fabric and center it over the chair pad. Staple once in the center top and pulling taunt turn and staple once in the bottom center then the center of right and left sides. 
Once you have that done go back to top or bottom and starting at center staple start stapling up to corner on each side. Do this for all four sides. Then taking a corner cut away any excess fabric tuck up side edges making a pleat on the corner and staple down.  Do this for all four corners. Now cut a piece of lightweight fabric of your choice (I used tea dyed flour sack towels) to cover bottom of pad and folding fabric under staple down all the way around giving the seat a neat professional finish.


All you need to do to finish is screw the seat back onto the chair and voila!  [That's a French word you know :-) ]You have a gorgeous Frenchie chair (I know that’s not a word I made it up and use it quite often) :-)


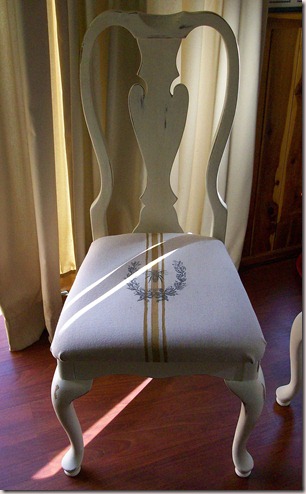
Here is my finished product.


diningchabee1_edited-11


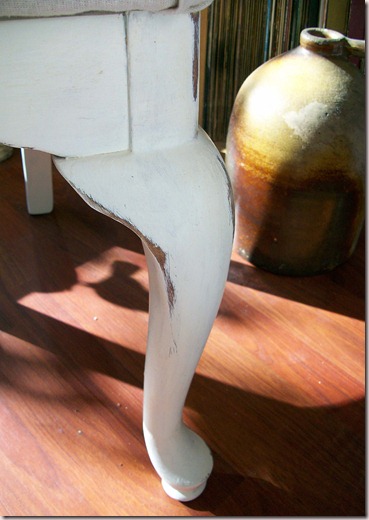
Look at those legs! Ohh, la, la! Did I tell you I had a leg fetish? Only on furniture of course. ;-)

Now for what many of you have been waiting for the winner of the $25 Hobby Lobby Gift Card is:


According to Random.org #30 comment
Congratulations Caron Oden please e-mail your address to pjhdesignsinfo@gmail.com

I'm linking up with the following parties.


Friday on Remodelaholic

DIY Club


FUN JUNK @ FUNKY JUNK INTERIORS

Thursday, October 20, 2011

Master Designer

I have joined the list of Master Designers:


“I AM A MASTER DESIGNER.


I LOVE BEAUTY;
I SEE POTENTIAL AND I WANT TO FILL IT WITH BEAUTY.
I AIM TO CREATE SOMETHING BEAUTIFUL THAT IS WORTHY OF JOY.

DESIGN IS A HIGH CALLING, ONE THAT CAN IMPROVE THE LIVES OF OTHERS, BE A MEANS TO FOSTER RELATIONSHIPS, AND ADD MUCH JOY TO MY FAMILY.
I APPRECIATE FINE AND LOVELY THINGS, BUT THEY ARE NOT MY TREASURES.
I KNOW WHAT IS TRULY IMPORTANT, AND
I DO NOT AIM TO “STORE UP MY TREASURES HERE ON EARTH.”*

I LIVE TO BRING GLORY TO GOD, THE ULTIMATE MASTER DESIGNER.
HE CREATED BEAUTY.
HE CREATED ALL BEAUTIFUL THINGS.
AND, HE CREATED MY PASSION FOR DESIGN, AND SET THAT JOY IN MY HEART.

EVERYTHING THAT I CREATE,
AND HAVE CREATED,
IS BECAUSE I MYSELF WAS CREATED BY A MASTER.

I AM A MASTER DESIGNER.”

*{VERSE REFERENCE, MATTHEW 6:19}


fOLLOW THE BUTTON ON MY SIDE BAR TO LEARN MORE.


tHANKS dARLENE FOR SPEAKING FOR MY HEART

I Was Featured!!!


I'm so excited! My Faux Grain Sack Dining Chair was featured on Feathered Nest Friday over at The French Country Cottage blog.   This is my first time being featured on any blog and I really appreciate and am humbled that so many of you like what I do. Thanks Courtney and thanks to all my followers I appreciate every one of you. 


Tuesday, October 18, 2011

Free Graphic Wednesday

Hello bloggers and bloggerettes.  I started this free graphic blog last week where I will be posting images that I thought might be useful to some of my crafty friends. I’ve started with images from a 1924 baby book I picked up at an estate sale. 
I do not intend to try to replace The Graphic Fairy lol, no one could, but I thought it would be fun to share what images I have with you.

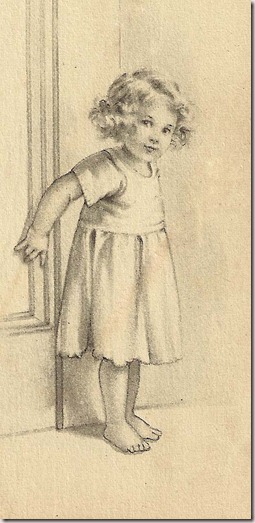
babybooklilgirl
Isn’t this little girl adorable? She seems to be peeking at something. For those of you who don’t know just right click on the image and select  “save image as” to save the image to your computer.

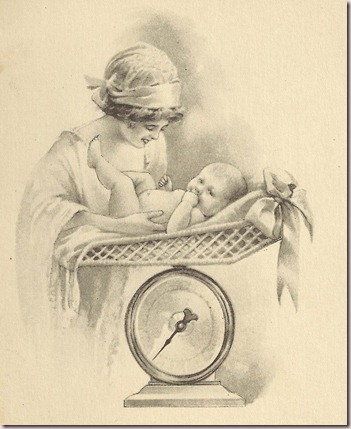
babyscale


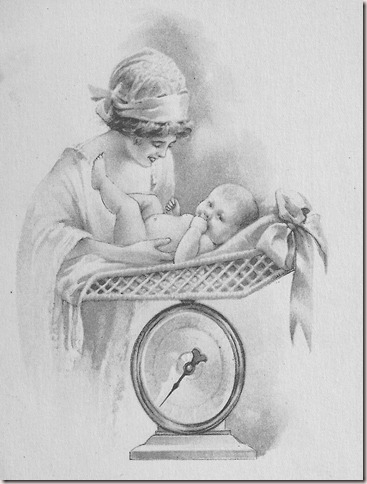
Love this antique scale.

babyscale2

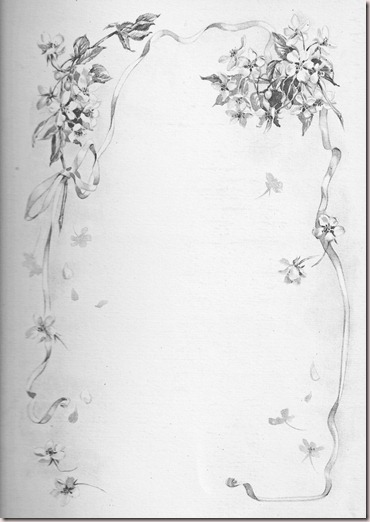
wildroseboder
Wouldn’t this wild rose border page be great for scrapbooking?
Hope you enjoy these and I’ll have something different next week.


By the way don't forget about the $25 Hobby Lobby Gift Card giveaway! It ends this Friday. Tell all of your friends. Go here to enter.

Monday, October 17, 2011

Lil’ Red Accent Table

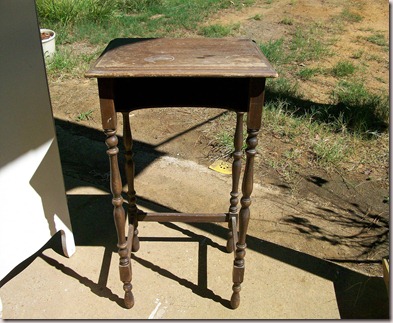
Hello everyone hope you’re having a great day.  Today I’m sharing the redo of a small accent table I picked up at a yard sale.  Here’s what I started with.

accenttabef

Notice how the finished has been rubbed off of the top. It has a little open shelf below the top and I think it was probably used at one time for a desk as there was quite a lot of very old gum stuck to the bottom of it. Smile


ascpemperorssilk

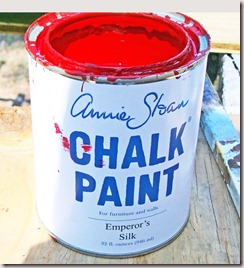
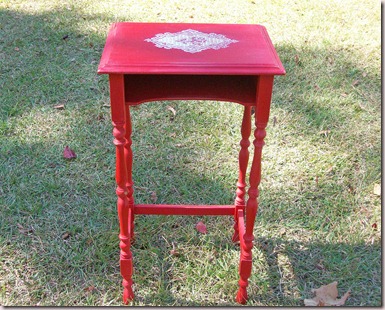
I couldn’t wait to try out my new Annie Sloan Chalk Paint color “Emperor’s Silk”. It looks quite bright in the can but here’s how it looks after two coats on the little table with no primer.

accenttabred


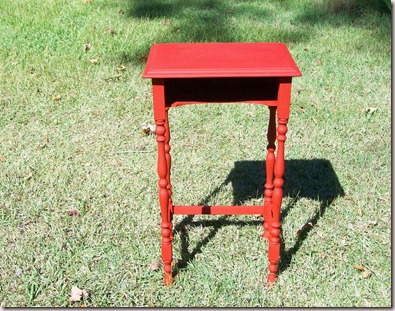
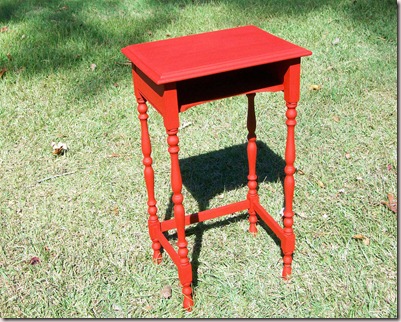
I love how it dries to a lovely aged red you might see on a antique piece. It would be lovely on a front door don’t you think?

accenttabred2

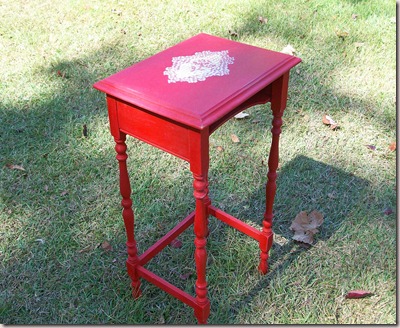
Gosh look at my grass and we water ours! If you have any rain in your area of the country send us some down here in Texas we really need it. Anyway here is the finished product.


accenttabfinished

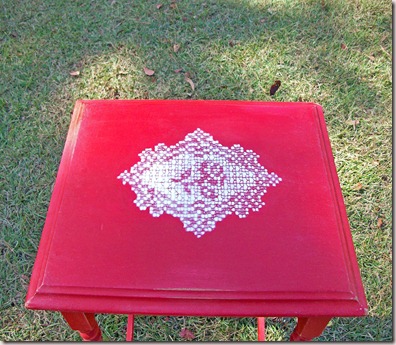
I applied a coat of ASCP clear, soft, wax and sprayed on a lace accent to the top using a piece of lace that I had as a stencil and a soft cream spray paint.  Then distressed the table in areas that would naturally have worn and applied another coat of wax.

accenttabfinished2


accenttabredtop


The lace design has a pretty rose detail.  I hope you enjoyed this lil' project. I’ll have pics of a dinette set in the next couple of days.

Thanks for dropping by ya’ll.


I'm sharing with the following parties.


Domestically Speaking


Friday on Remodelaholic

Wednesday, October 12, 2011

Free Graphics

I am starting a new weekly blog where I will be posting free vintage graphics. 

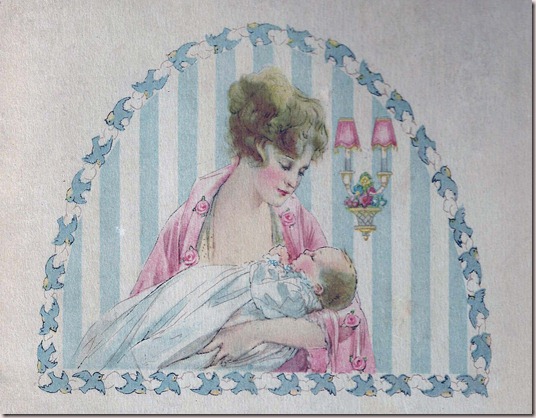
The first ones I am sharing with you are some beautiful images I acquired from an antique baby book I picked up from an estate sale.
The hand written entries date from 1924 and are so sweet as they detail the birth and first year of the baby’s life. Love it! Don’t think I could ever sell it!
So I hope you enjoy these images and can use them in some of your craft projects.  Just right click on the image and choose "save image as" to save onto your computer. Enjoy.

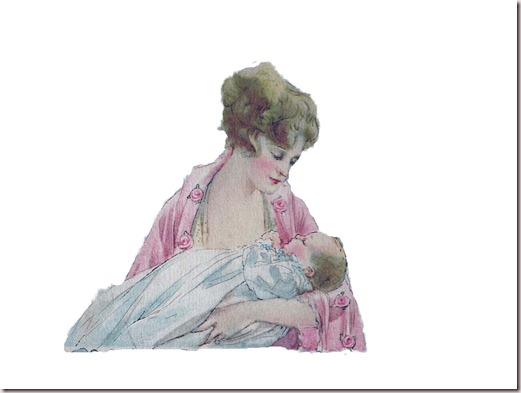
motherandbaby1
Mother with baby

motherandbaby3
Mother with baby no background
motherandbaby4
Mother and baby black and white

birdwreath1
Just the birds

birdwreath2
Just the birds black and white
By the way don’t forget to go here and leave a comment for an entry to win a $25 Hobby Lobby Gift Card.  You don’t have to follow me to enter but I would love it if you would.

motherkissing1_edited-1
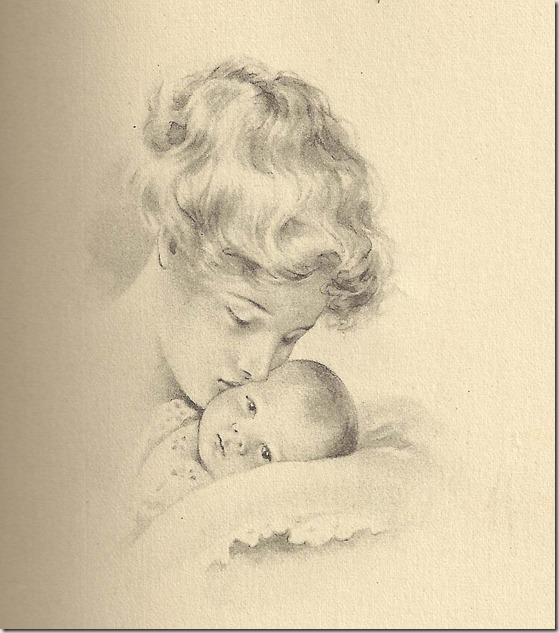
Mother kissing baby sepia

motherkissing2
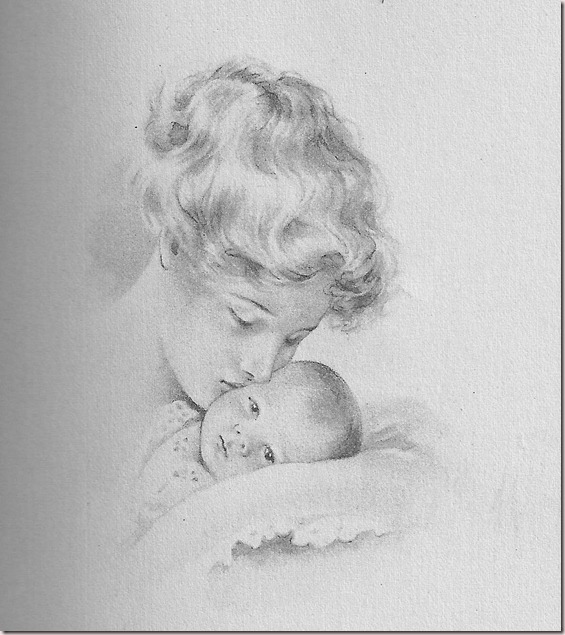
Mother kissing baby black and white

I hope you enjoy the images more to come next week. Smile


I'm sharing with the following parties.


Monday, October 10, 2011

Hobby Lobby Give Away

Hello everyone & happy Monday. I have been trying to think of a way to thank all of my followers and I have decided to give away a $25 Hobby Lobby gift card!


If you're like me you just love Hobby Lobby they are always having wonderful sales and as you know it doesn't matter what type of craft or hobby you like to do they probably have everything you need.


For one entry just leave a comment below.  You don't have to follow me but I would appreciate it if you would.  If you would like to get a second chance of winning go to my Facebook page here and like my page and come back and leave a comment saying that you did. A winner will be randomly chosen on Friday, Oct 21, 2011. I'm extending this for another week because of low response. 


Please help me out and  tell all your friends to come by and sign up. Thanks you all for your support.


Peggy

Sunday, October 9, 2011

Dining Set Sneak Peek

I should be able to get back to work full time this week if the doctor gives me the okay tomorrow but until then I thought I would give you a sneak peek of one of the dining chairs I’ve been working on.  I should have this set finished next week.

diningchabee1_edited-11

I painted the chairs with ASCP “Old White”.

diningchabee2_edited-2

I'm giving away a $25 HOBBY LOBBY GIFT CARD just enter a comment to win but I would appreciate it if you would sign up to follow me :-) go here to sign up.

diningchabee3


diningchabee4


I will give you more details on how I refinished this set later this week. Please ignore my dirty floor but I do have a good excuse this time doctors orders. Smile  Hope you have a great week.  


Thanks for dropping by. 

I'm sharing with the following linky parties:


Funky Junk's Saturday Nite Special

beneath my heart

Thursday, October 6, 2011

Feather Your Nest With Embroidery

I thought I'd share one of the pieces from my other hobby with you today as I am still limited in what I can do as far as painting furniture.


I have enjoyed doing counted cross stitch for years and had the pleasure of sharing this hobby with my mother while she lived. She requested that I teach her and she ended up teaching me more than I could have ever taught her.  Mother's work was perfection ever stitch had the exact same tension like they had been done by a machine.  I still strive to come even close in matching the beauty of her work.


The piece I am sharing with you I recently finished and for the lack of anywhere else to put it I hung it over my bed.  Now I just recently decorated my bedroom in yellows and blues and as you will see this picture is in rich reds, purples, and golds so it doesn't match really well but I just enjoy looking at it and decided it was my bedroom if I wanted it in there I'd put it in there! lol


I love cross stitching people! Especially Victorian images but this lovely Roman styled beauty really caught my eye. She took me several months in my spare time to finish. I have done others as large but given them away as gifts this one I decided to keep for awhile.


Look at that expression very haughty. Notice the gold edging that goes around entire image.  There was a lot of gold thread in this one and it is sort of difficult to work with as it wanted to shred if you have to take any back out and believe me sometimes I felt like I took out more than I put in. :-)


Doing needlework is a great way to add quality inexpensive art to your home and they make great heirloom pieces to hand down through your family.


It's also fun! Because I spent so much time on my haughty Roman I decided not to frame her myself so I carried  her to Hobby Lobby while they were having a half price sale.  I chose a hammered, old gold finished frame with a two layered matting in various creams and a maroon velvet.  


The last couple of years counted cross stitch has been out paced by scrap booking as a favorite hobby but I hope it comes back in popularity soon as it is such a calming and rewarding hobby.


It is also a great way to decorate your home on a budget by making pictures, pillows, bedspreads, tablecloths, etc... If you have never tried counted cross stitch give it a try it is easy to learn and very rewarding.

I'm sharing with the following linky parties.


Tickled Pink at 504 Main

Total Pageviews

LinkWithin

Related Posts Plugin for WordPress, Blogger...